Article: A Step-By-Step Guide to Matting Your Photo
A Step-By-Step Guide to Matting Your Photo
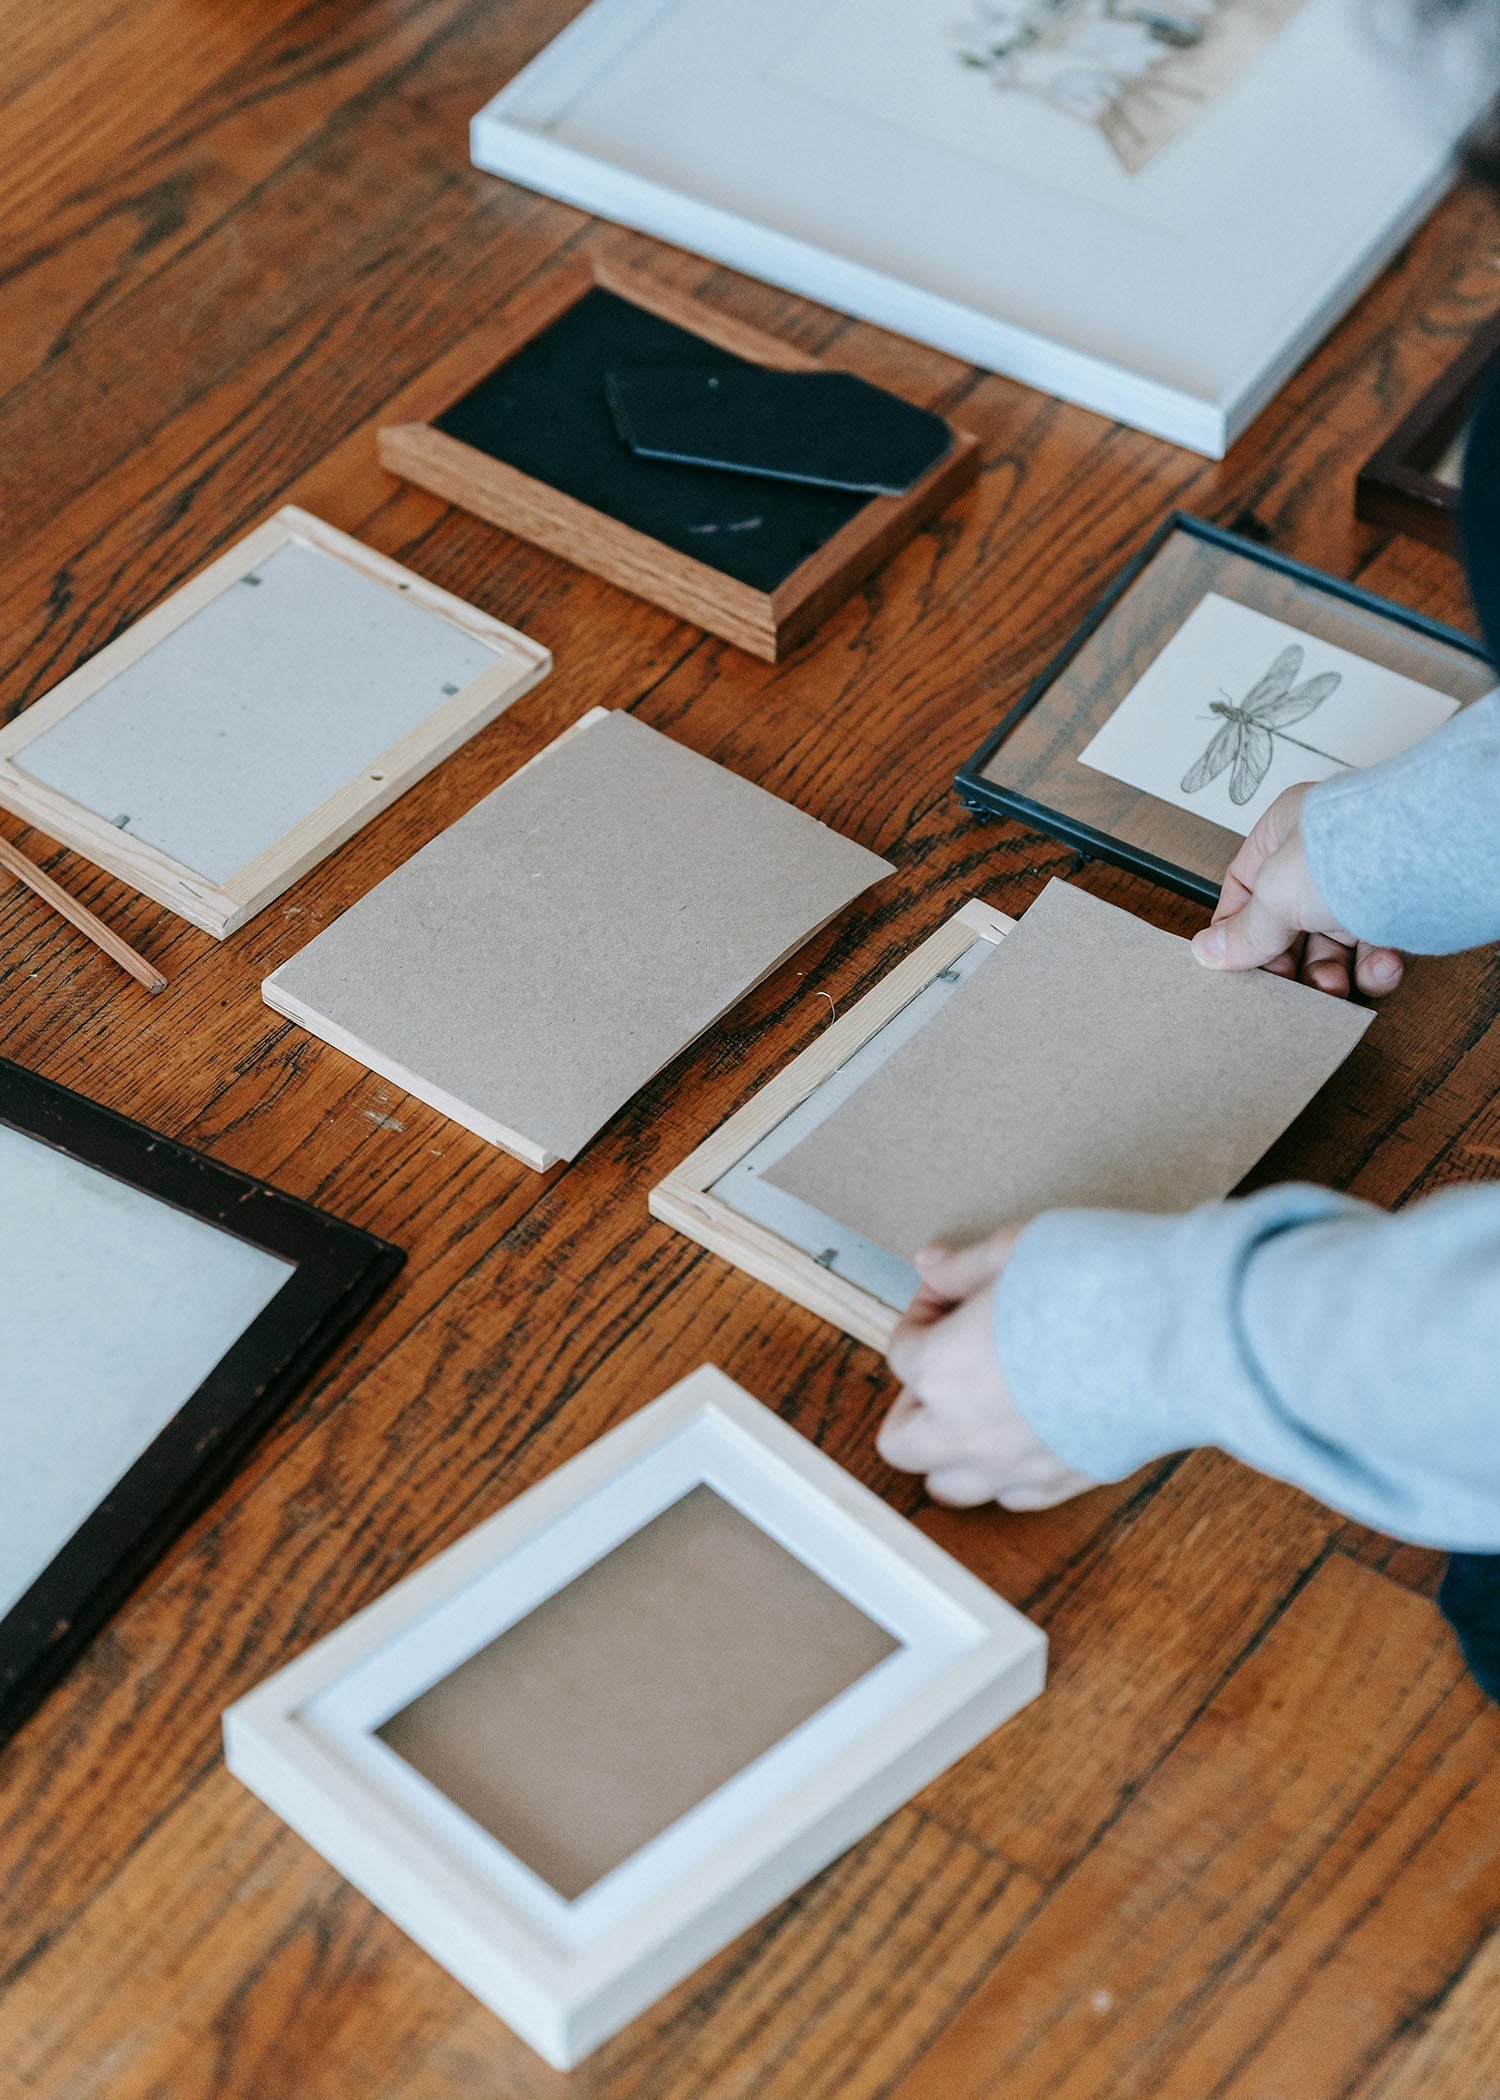
Step-by-Step Guide to Matting Your Photo for the First Time
Matting your photo can enhance its presentation and protect it for years to come. Follow these steps to mat your photo like a pro:
Materials Needed
- Matboard with a window opening (pre-cut or custom)
- Backing board
- Archival photo corners or acid-free photo tape
- Ruler
- Clean, lint-free cloth
Step 1: Choose the Right Mat
- Select a matboard that complements your photo's colors and enhances its visual impact.
- Ensure the matboard and backing are conservation-grade if preservation is a priority.
- Choose a mat size that fits your frame and leaves a balanced border around your photo.
Step 2: Prepare Your Workspace
- Find a clean, flat, and well-lit workspace to avoid dust and smudges.
- Wash your hands or wear cotton gloves to prevent oils from damaging your photo or matboard.
Step 3: Position Your Photo
- Lay the backing board flat on your workspace.
- Center your photo on the board, ensuring it aligns with the window opening of the mat.
- Use a ruler to check that the margins are even.
Step 4: Secure the Photo
-
If using photo corners:
- Attach corners to your photo.
- Carefully place the photo on the backing board and press the corners firmly into place.
-
If using acid-free photo tape:
- Place small pieces of tape on the back of the photo at the top edges only.
- Adhere the photo lightly to the backing board, allowing room for expansion or contraction over time.
Step 5: Attach the Matboard
- Align the window opening of the matboard with your photo.
- Carefully place the matboard over the photo and press gently to ensure alignment.
Step 6: Secure the Mat to the Backing Board
- Use small strips of archival tape along the edges to hinge the matboard and backing board together.
- Avoid sealing all edges tightly to allow airflow and prevent moisture buildup.
Step 7: Clean and Inspect
- Use a lint-free cloth or compressed air to remove any dust or particles from the mat and photo.
- Inspect the matting to ensure the photo is centered and the mat aligns perfectly.
Step 8: Frame Your Mat
- Place the matted photo into your frame.
- Secure the frame backing and hang or display your artwork with pride!
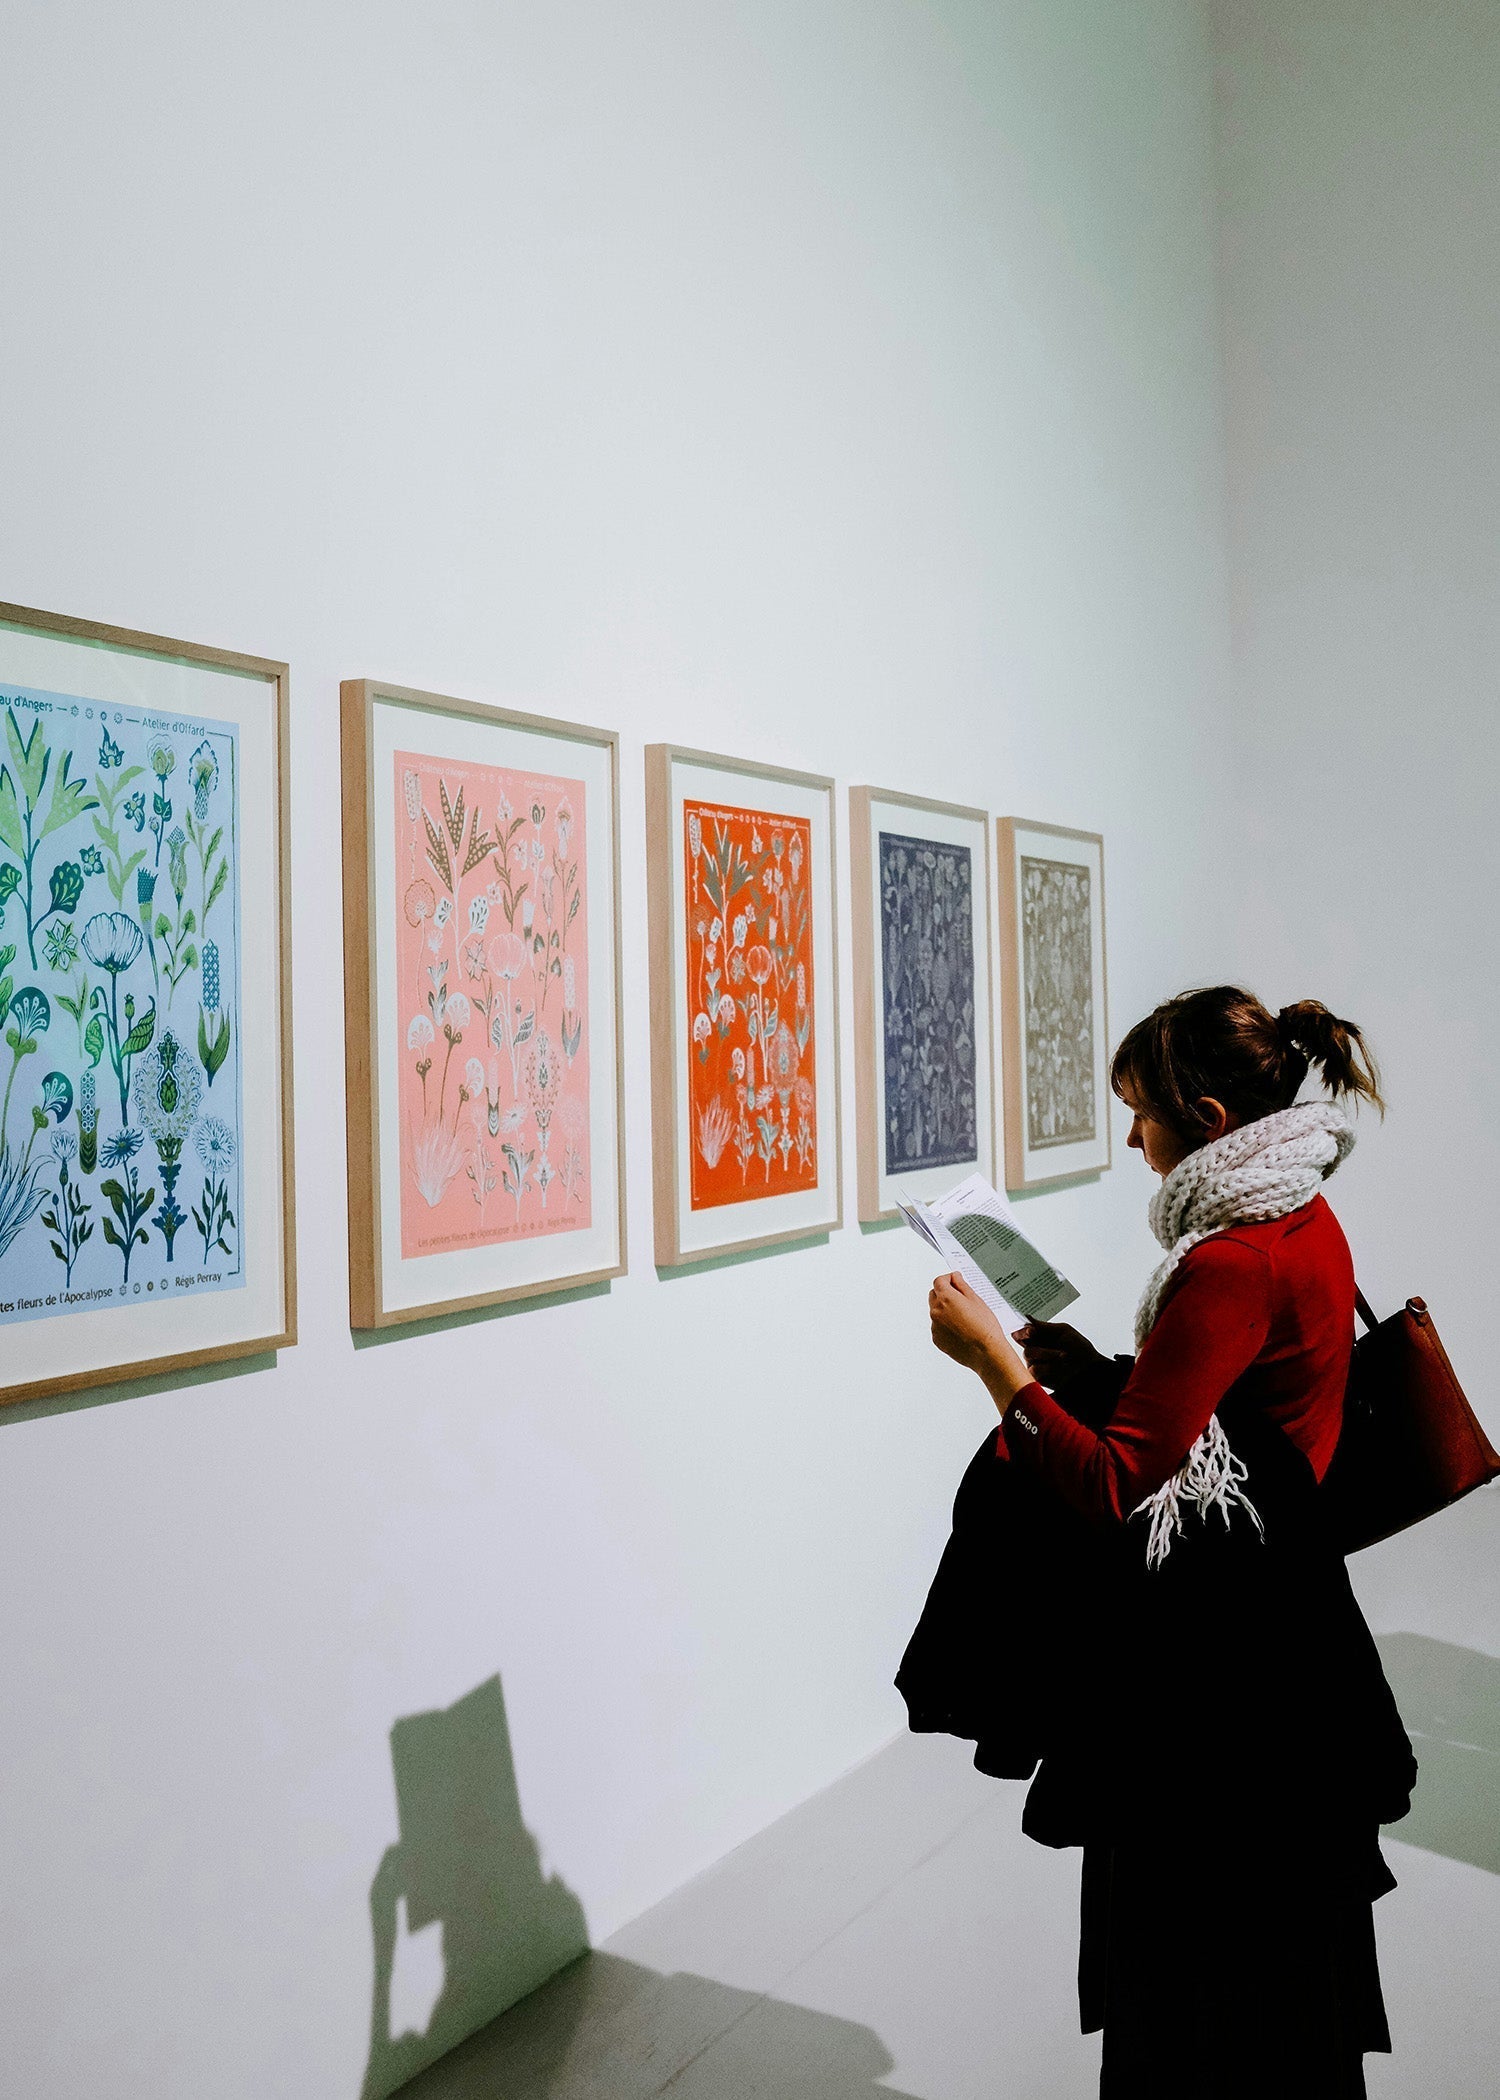
Matting your photo not only elevates its aesthetic appeal but also adds a layer of protection. With practice, you'll be able to create professional-quality matted photos every time!


