Article: Tape Mounting Instructions For Matboards
Tape Mounting Instructions For Matboards
When to Use This Method:
- Conservation-Friendly Framing: The T-hinge allows the artwork to expand and contract naturally with changes in humidity, preventing warping or buckling.
- Fine Art & Photography: This technique is commonly used for mounting valuable prints, original artwork, and photographs where archival-quality materials are important.
- Temporary or Reversible Mounting: Since only the top edge is attached by tape, the artwork can likely be safely removed later if needed.
- Double Matting or Floating Mounts: This method works well when using a window mat, as the tape remains hidden.
When Not to Use This Method:
- If you need a permanent bond consider dry mounting or using photo corners instead.
- If the artwork is very large or heavy, additional support may be needed.
Here’s a step-by-step guide on how to mount and mat a photo using tape:
Materials Needed:
- Photo or artwork
- Matboard (pre-cut or custom cut)
- Backing board
- Acid-free hinging tape or archival mounting tape
- Ruler
- Pencil
- Burnishing tool or bone folder (optional)
Step 1: Prepare Your Workspace
- Clean your hands and workspace to avoid smudges, dirt, or dust.
- Lay your materials on a flat surface.
Step 2: Position the Photo on the Backing Board
- Place the backing board on your work surface.
- Center the photo on the backing board using a ruler for accuracy.
- Lightly mark the corners on the backing board with a pencil to keep track of placement.
Step 3: Attach the Photo with Hinge Tape
- Cut two small strips (about 1-2 inches) of acid-free hinging tape.
- Create a T-hinge by placing one strip of tape halfway along the top edge of the photo, with the sticky side facing up.
- Secure the tape by placing another strip perpendicularly over the first one, attaching it to the backing board.
- Repeat on the other top corner to ensure stability.
- Avoid taping all edges, as the artwork may need space to expand or contract with humidity changes.
Step 4: Attach the Matboard
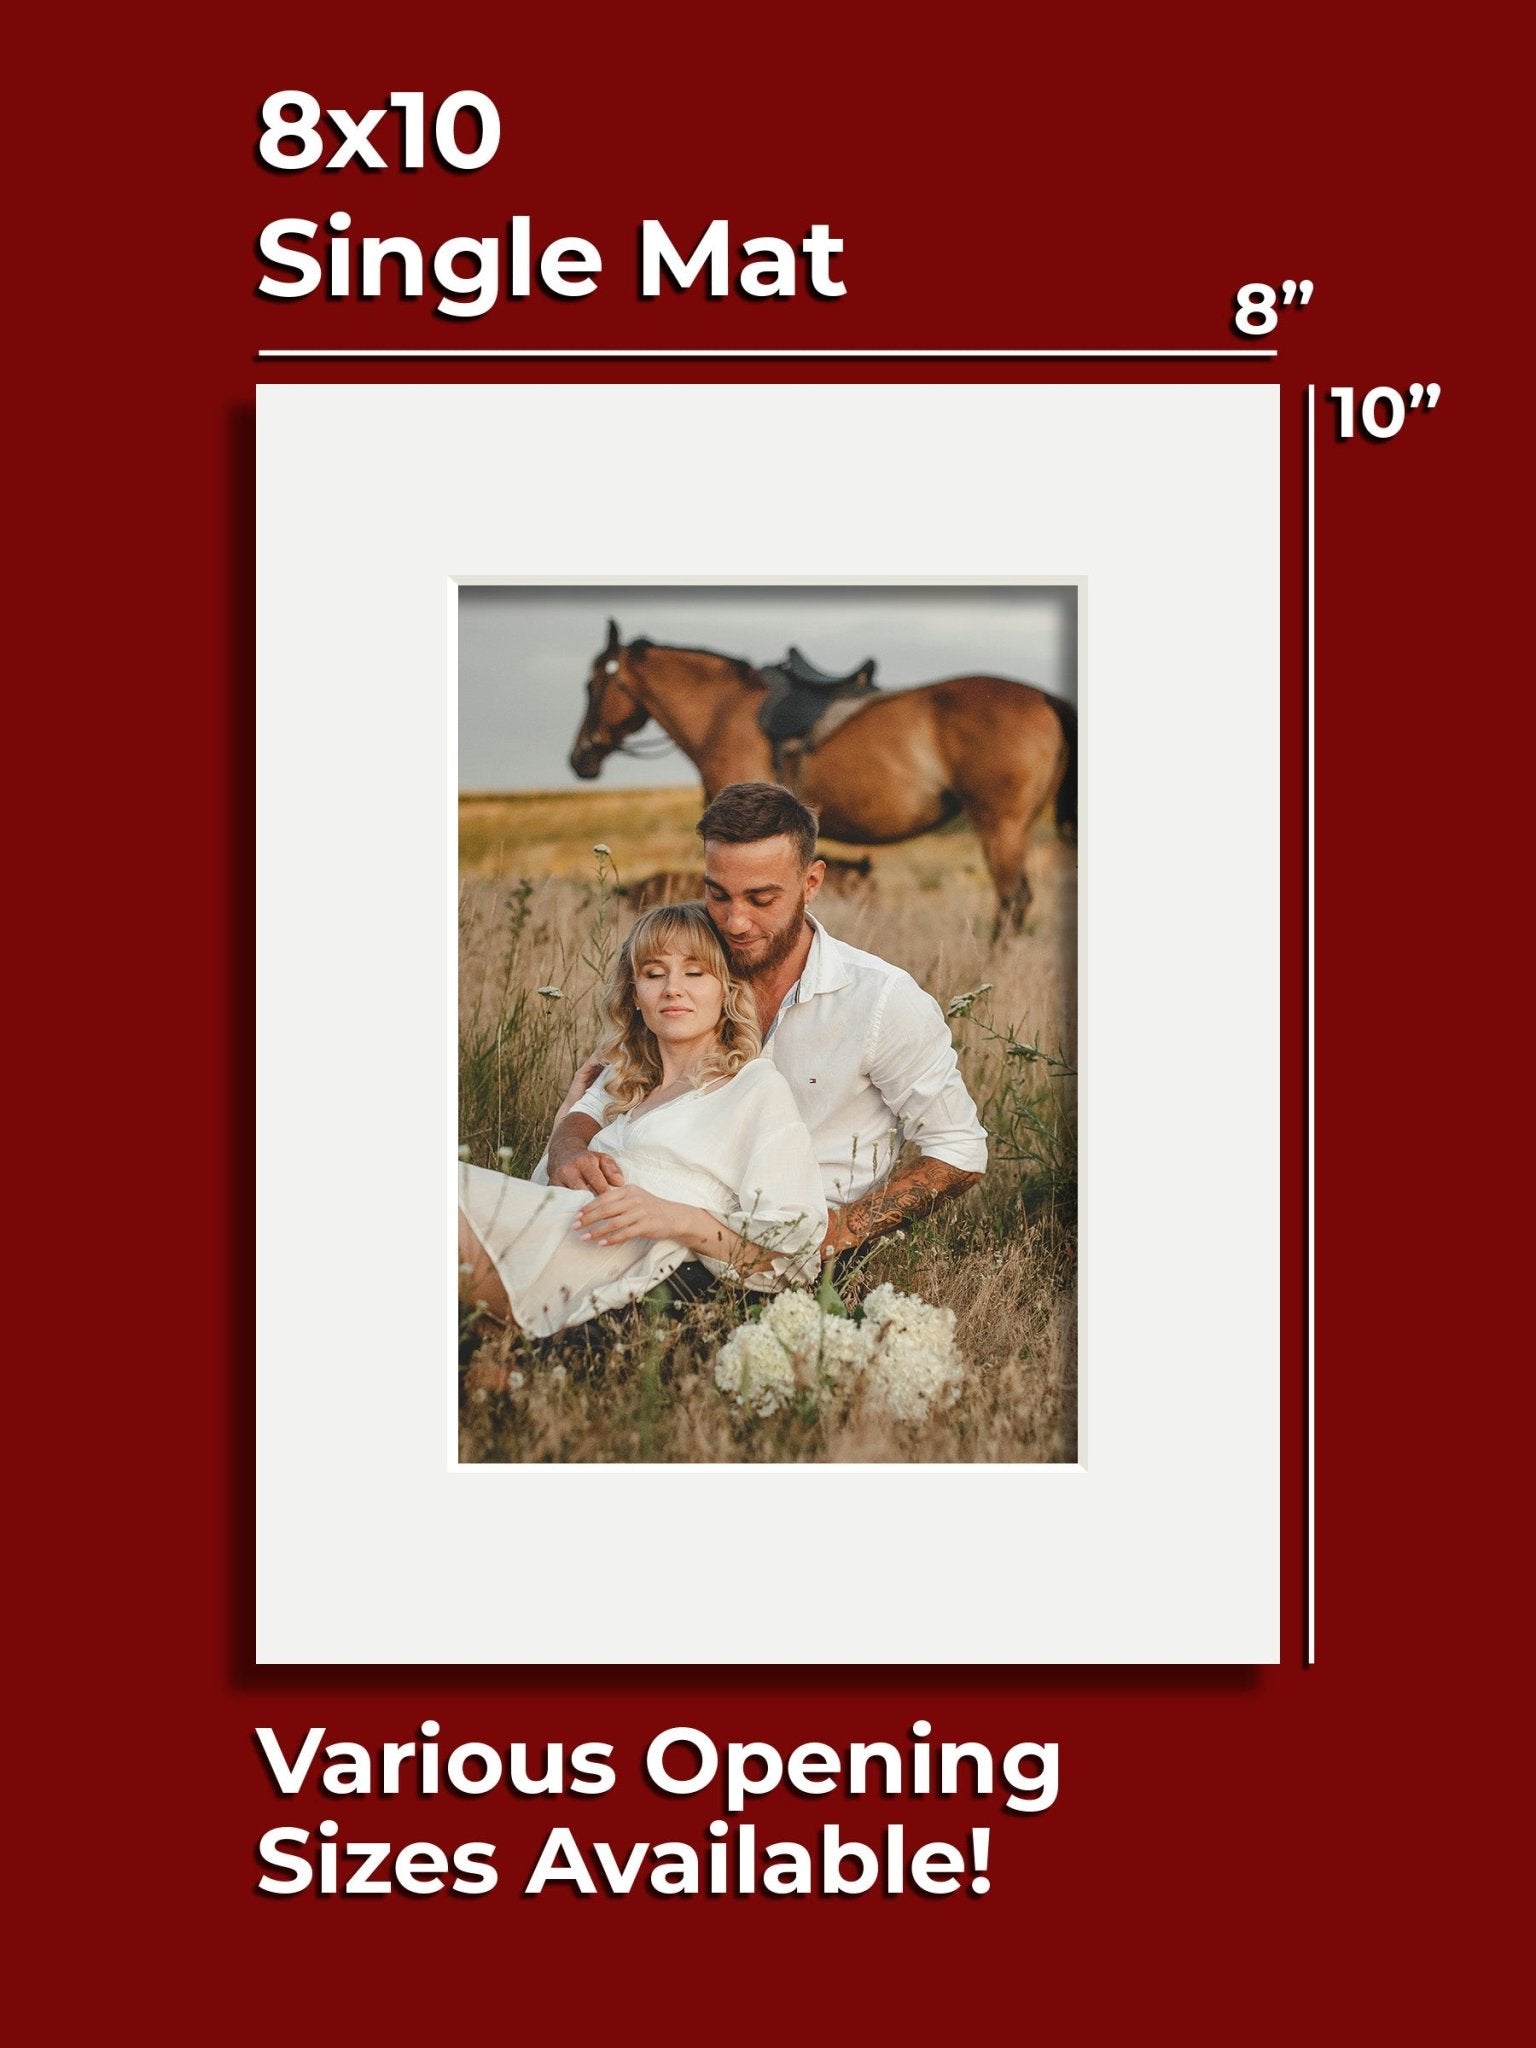
- Align the matboard over the mounted photo, ensuring the window opening properly frames the image.
- Secure the matboard to the backing board using small pieces of tape along the edges or at the corners, if necessary.
Step 5: Final Touches
- Press down lightly on the matboard to ensure everything is secure.
- Check alignment and adjust if necessary.
- If needed, use a bone folder or burnishing tool to smooth down the tape for better adhesion.
Now your photo is properly mounted and matted, ready for framing or display!
